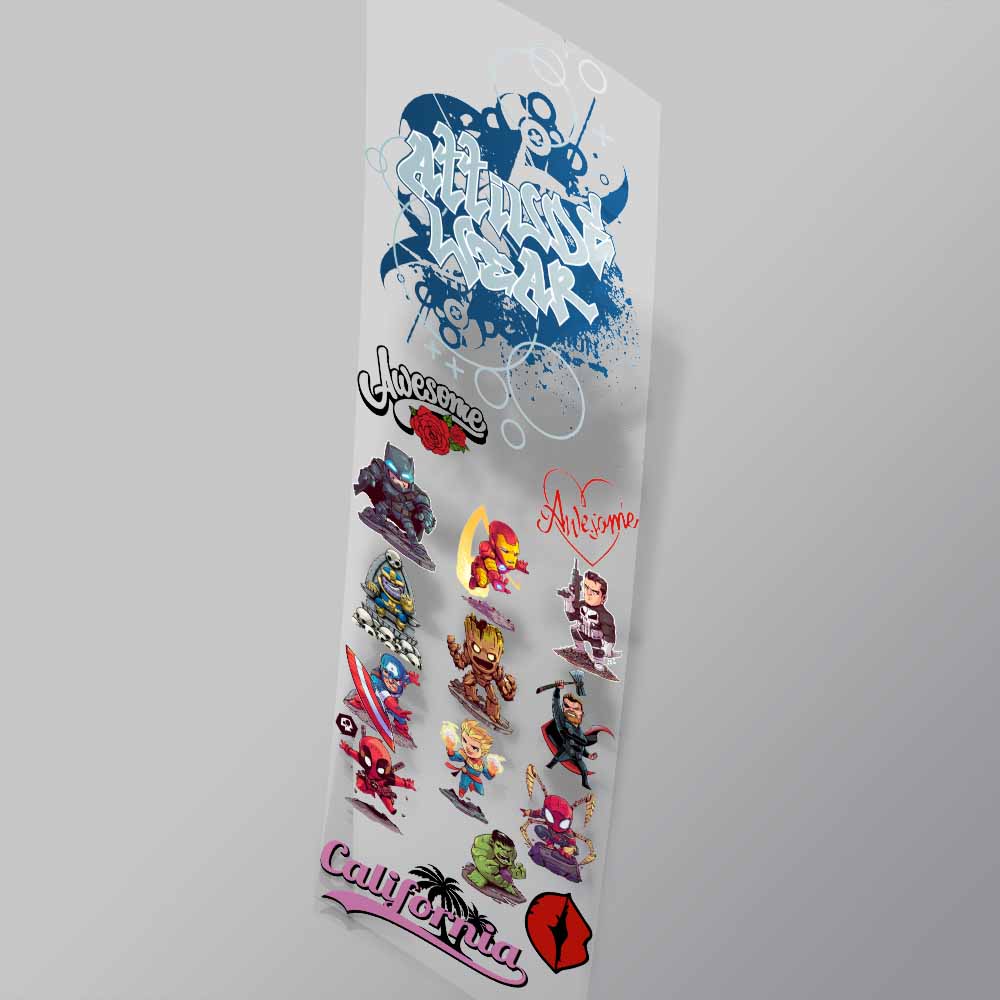
Making sure your images are ready to be printed is very important as the printing service that we provide, is a printing service, we will not altar or adjust your print files.
It is impossible for us to know what you deem good/bad quality and what the image is being used for and what colour garment it is going onto. Please read further and understand how to prepare your files.
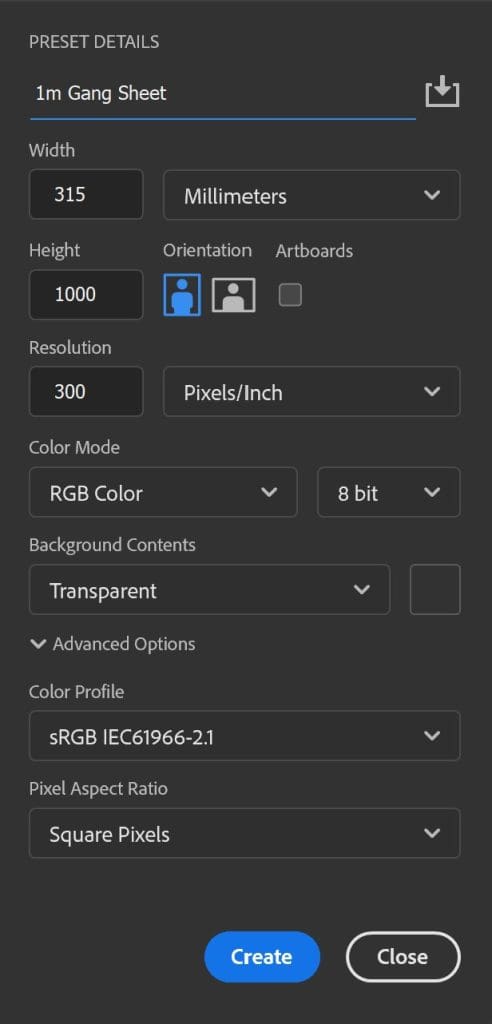
All artwork should be prepared at 300 x 300 DPI. This is 300 pixels per square inch. In your design program, when you create the file it will be a setting that needs to be selected. Also upon export or saving the file, it will need to be set again. If your using Photoshop you most likely understand this, if your using Canva you can only do this with pro version.
Source colour profile is the embedded colour profile is the image being designed, our rip used the source colour profile of sRGB-IEC61966-2.1 for conversion to CMYK printing. So please if available set your images to RGB and use sRGB-IEC61966-2.1 as your source colour profile. Please see below settings for photoshop, when saving the image/gang sheet, please use “Save a Copy” and it will maintain all of the source document properties.
Small Text and Lines
Now that we have the correct parameters set up, we design the gang sheet or image. Some very important things to note are thickness of lines/small text. In the DTF printing method, both UV DTF and Apparel DTF use what is called a choke. The white ink is “choked” inside of the colour to avoid white peaking out, which looks average on a black garment. We choke our images approximately 2 pixels all sides, so it your lines are only 6 pixels, you will only get 2 pixels of white underneath the printed line (colour). The white ink acts as the attachment for the adhesive powder and creates the bond onto the garment, which you want a good bond for longevity of the garment. We suggest not designing anything less than 7-8 pixels in thickness.
In UV DTF application the contact tape often removes small lines/text when peeling off the substrate, for this reason, if you are using small text we suggest hat you place a solid background behind the text for adherence to the substrate.

PNG and JPG
We are hoping that if you are using our services that you know the difference between a PNG and a JPG file. In short a PNG has a clear background where is does not have any colour, a JPG has a solid background and that will print in both UV and Apparel, giving you a solid block print.
Just because an image is labelled a PNG does not mean that it does not have a solid backgroung behind it, please look at in your design program to see if it has a solid background.
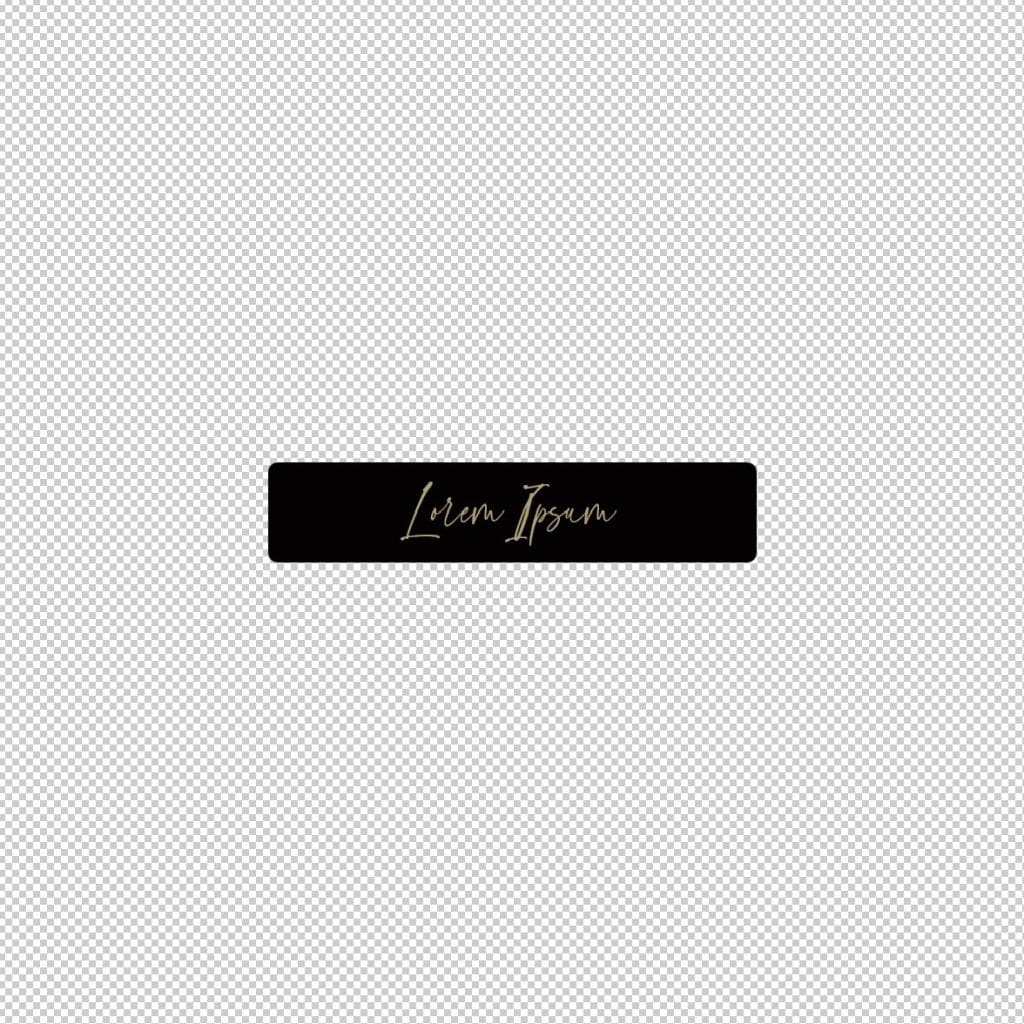
This will print just the Black area with the sample writing.
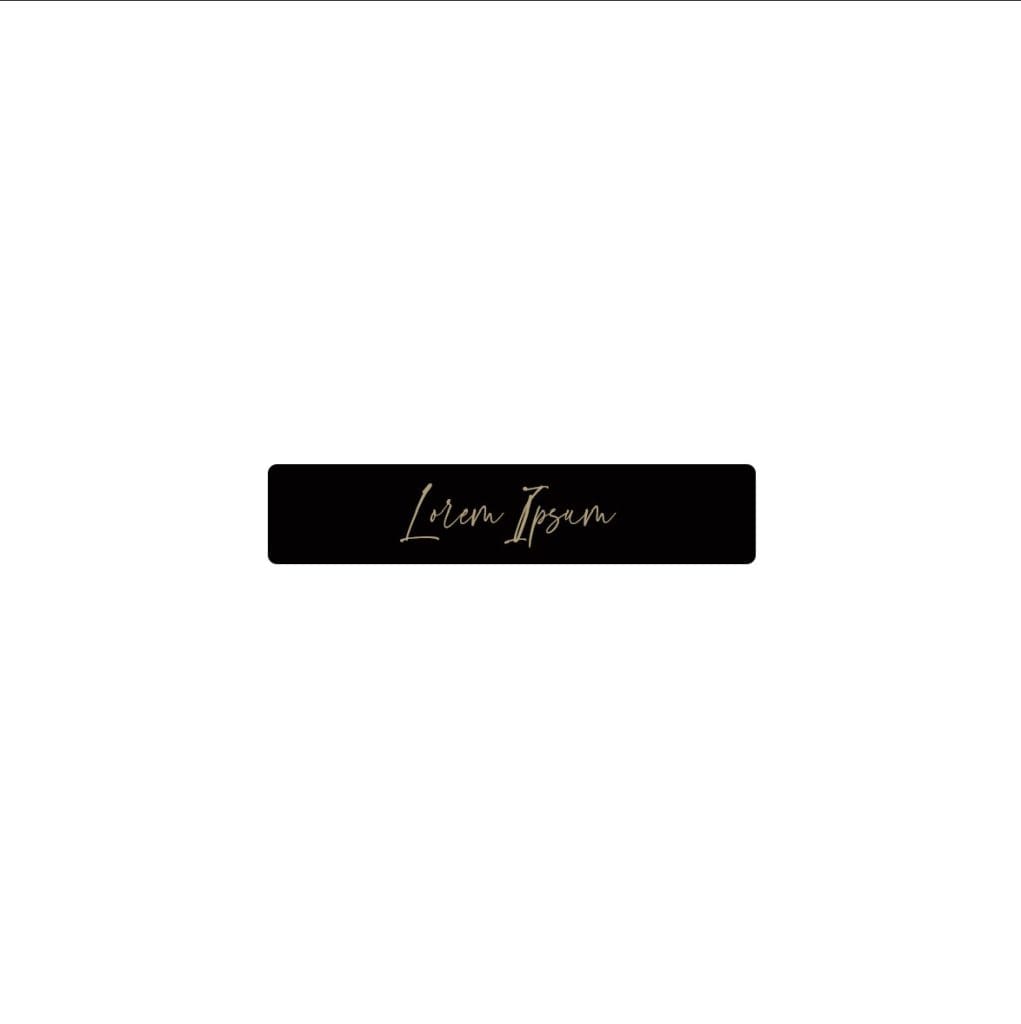
Images with a fake transparent background will print the fake blocks.
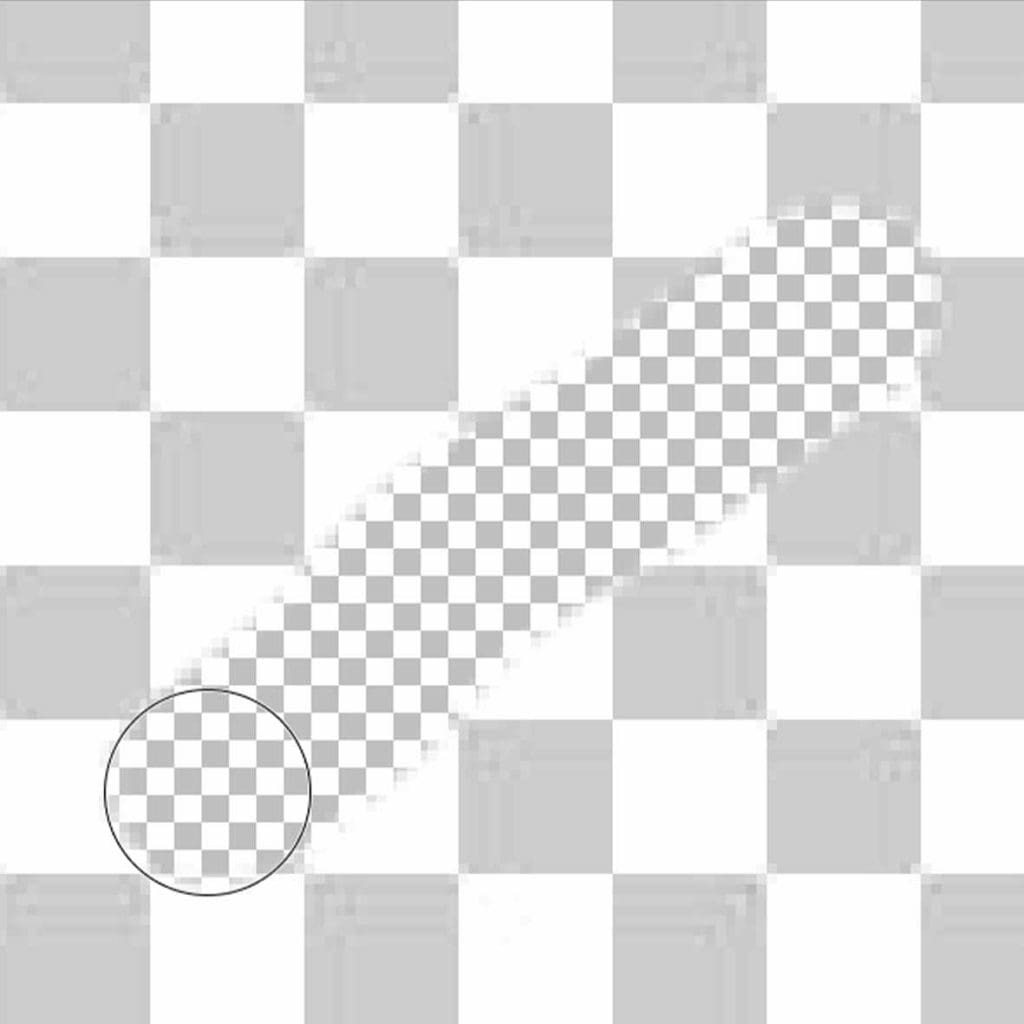
This will print with the white background.
Fading transparency
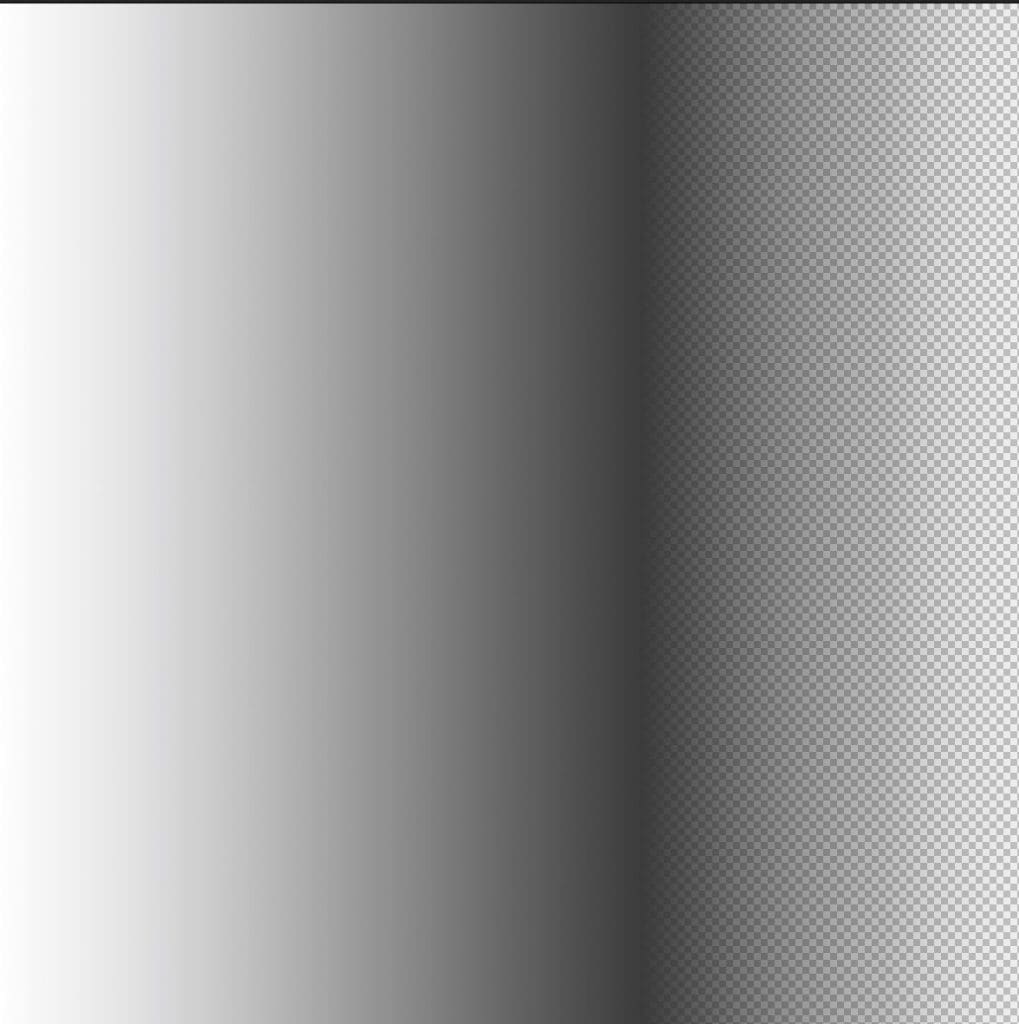
Images that have a fading transparency are not ideal for DTF printing, the transparent pixels still register as a pixel and the RIP software will place white ink behind them, which if the designed images transparency if very low, the print will be mostly white.
For this reason we suggest that you stay away from transparency fades. All of the below image will receive white ink underneath the image.
Clean VS Dirty PNG
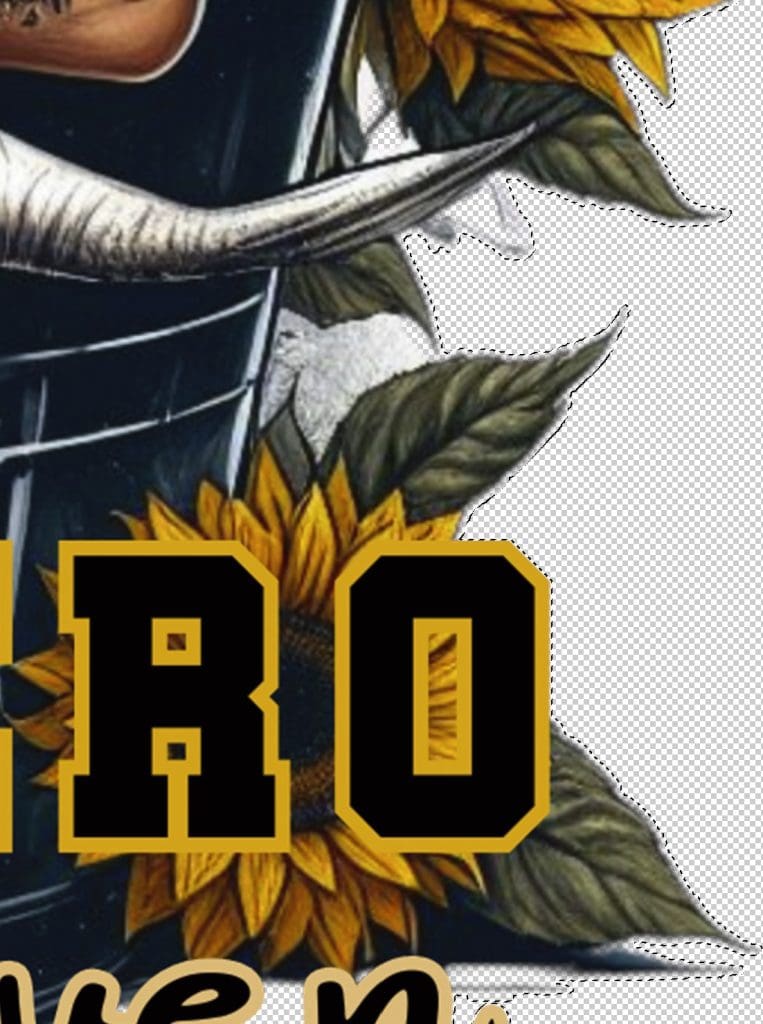
The image to the left shows a clean PNG, when the magic wans is used to select the image, there are no dirty transparent pixels outlying the image, the selection is tight, allowing the software to accurately “choke” the white ink and print cleanly for application to a garment without white peak out, as it chokes inside of the selection by 2 pixels approx. This image will look great and have no white peaking out.
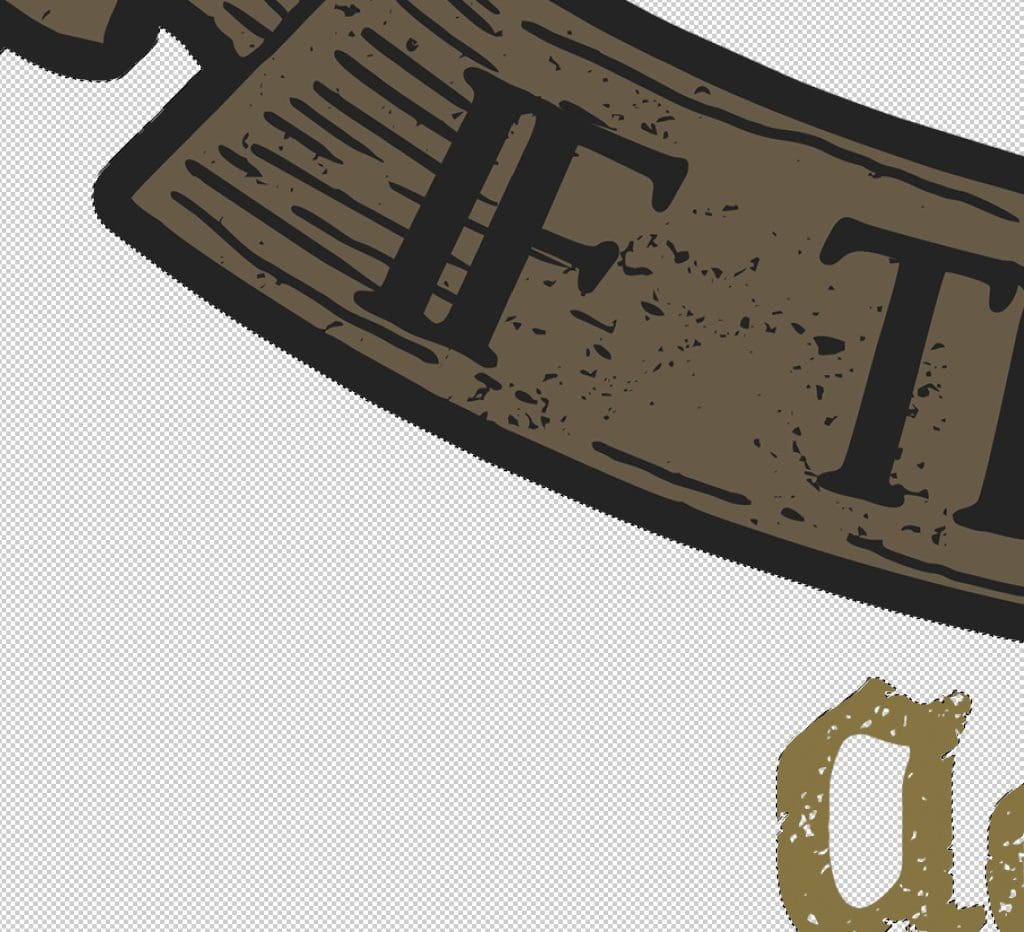
The image below has partial transparency around the image, which the software will register the semi transparent pixels as graphics and lay white ink behind them, but choking only 2 pixels. This image when placed onto a black garment will have a small white border around the areas where it has the dirty pixels.
There are many processes to clean up a dirty PNG file, click Example Clean Up Transparent Pixels to see one method.
Maximising Nesting/Ganging of Images
When uploading images to the gang sheet builder and printing multiple copies, please make sure that you have “trimmed” your images, e.g. removes the extra transparent pixels from the image. using the example below:

If you size this image to be 100mm wide, the actual print will only be approx. 50mm as it is measuring the image including the transparent pixels.
If I choose to print 100 copies of this, I am going to waste a lot of media that could be used to print this image many times over.
We often have people saying that their image is the wrong size due to this, please use a design program to remove all of the transparent pixels as below.

This image if set 100mm will print exactly to 100mm and if we decide to apply 100 copies to the gang sheet builder it will optimise the space used and get many copies on the media and reduce the overall cost to print each item. In the gang sheet builder you can set the amount of room in between the images for cutting, we suggest 3-4mm for ease.
PLEASE NOTE: When uploading an image to the gang sheet builder, it displays the dimensions of the file for your benefit, please always check the sizing is correct for the application of the image before proceeding.
Quality Printing Service – Not a Design Service
While me endeavour to check files and if we see something obvious we will contact you, this is a printing service ONLY, we are very busy and have limited resources. It takes a lot of time to call/email/follow up on incorrect prints being supplied. We will not adjust or change your print files, we also expect that you the designer has checked the sizing, correct for application, layout and quantities.
We are a printing service and we are unsure what your prints are going onto, what your expectations/standards are for the quality of the design, we have perfect artwork and average artwork coming through that people are happy with what they are sending through, we do not judge and can not be sure what your standards are.
Please if you have any questions, give us a call and or email us via the Contact Us page, but do this before placing the order, not after as we are very efficient, we get prints out same day and as soon as you hit the go button, it is likely to be in the print queue.

